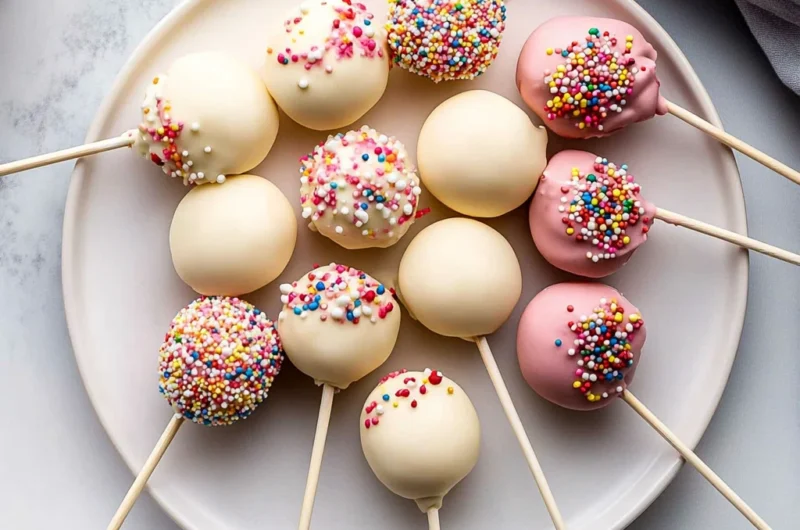
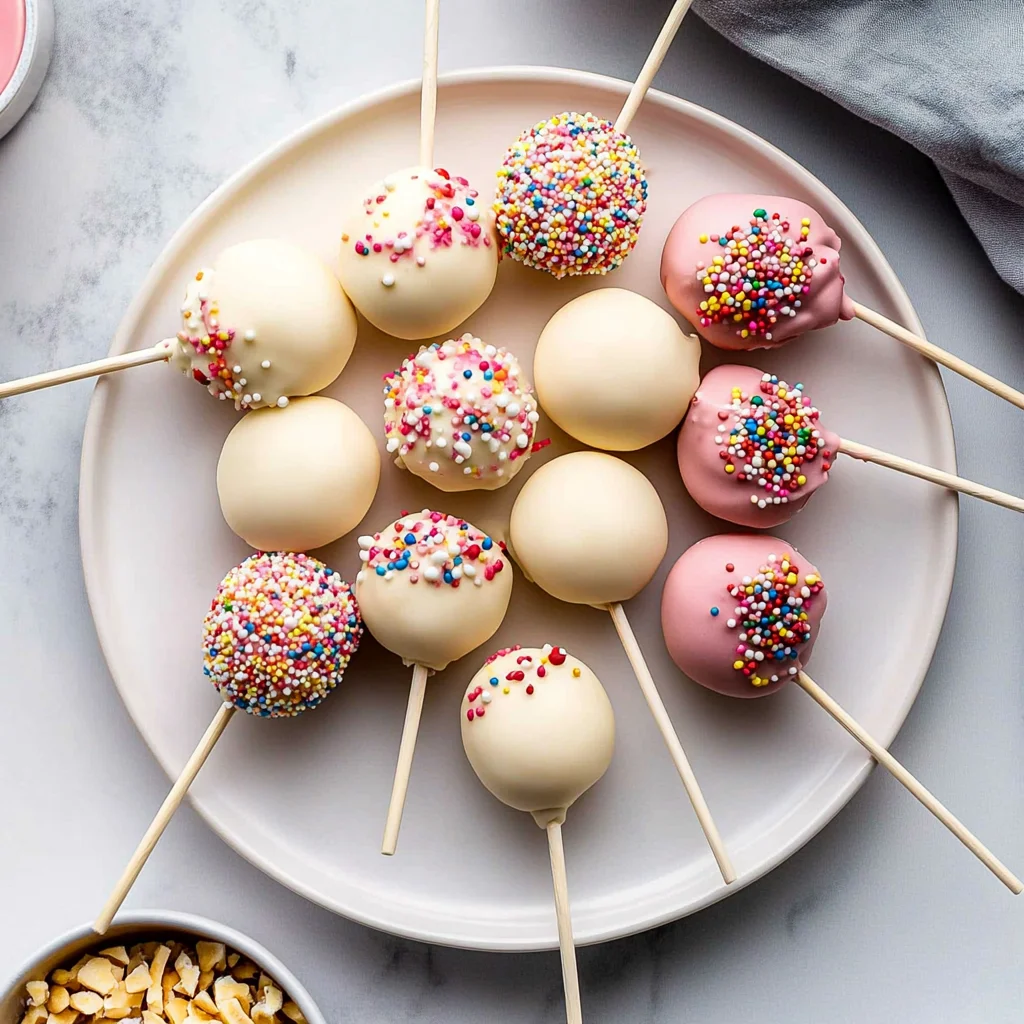
Imagine biting into a Summer Homemade Cake Pop, where the moist cake crumbles delightfully in your mouth, and the vibrant chocolate coating bursts with flavor. The sweet aroma wafts through the air, instantly transporting you to sunny backyard gatherings filled with laughter and joy. Each colorful pop is a little piece of celebration, perfect for brightening up any summer occasion.
Thinking back to those carefree days of childhood, I remember how my friends and I would dive into these delightful treats at birthday parties and picnics. They were not just desserts; they were edible treasures that brought us together. With every bite, these Summer Homemade Cake Pops promise a nostalgic journey filled with laughter and sunshine, making them an irresistible addition to your next summer bash.
Why are Summer Homemade Cake Pops a must-try?
Delightful flavors! Each bite is a burst of moist cake paired with colorful chocolate.
Super easy! No expert baking skills required; perfect for all ages.
Versatile treats! Customize with your favorite cake and toppings to suit any gathering.
Crowd-pleasers! These bite-sized delights are sure to impress friends and family alike.
Time-saving fun! Whip up a batch in no time, making summer celebrations stress-free!
Summer Homemade Cake Pops Ingredients
For the Cake Base
- 1 box vanilla cake mix (or any flavor of your choice) – This serves as the foundation for your delicious cake pops.
- 3 large eggs – Eggs help bind the ingredients together, ensuring a moist and fluffy texture.
- 1 cup water – Water adds moisture to the cake mix, making it perfect for summer gatherings.
- 1/2 cup vegetable oil – Oil keeps the cake pops tender and adds richness to the flavor.
For the Coating
- 2 cups chocolate melting wafers (in various colors) – Colorful wafers make your cake pops visually appealing and deliciously sweet.
- 1 cup sprinkles (for decoration) – Sprinkles add a fun crunch and festive touch to your Summer Homemade Cake Pops.
Additional
- 1 package cake pop sticks – These sticks are essential for assembling your delightful treats and make them easy to hold.
How to Make Summer Homemade Cake Pops
1. Preheat the oven: Start by preheating your oven to 350°F (175°C). In a mixing bowl, combine 1 box of vanilla cake mix (or any flavor of your choice), 3 large eggs, 1 cup of water, and 1/2 cup of vegetable oil. Mix until smooth and creamy.
2. Bake the cake: Pour your batter into a greased baking sheet, spreading it evenly. Bake for about 25 minutes or until a toothpick inserted in the center comes out clean. Your kitchen will be filled with a delightful aroma!
3. Cool and crumble: Once baked, allow the cake to cool completely. This is crucial! After it’s cooled, crumble the cake into a large bowl using your hands, ensuring there are no large chunks left.
Form the Cake Pops:
4. Shape the balls: With the crumbled cake in hand, form small balls about 1 inch in diameter. Place each ball onto a baking sheet; this is where the fun starts as you shape these little treats!
5. Insert sticks and freeze: Gently insert a cake pop stick into each ball, ensuring it’s secure. Now, pop them in the freezer for about 15 minutes to help them firm up before coating.
Coat the Cake Pops:
6. Melt the chocolate: In a microwave-safe bowl, melt 2 cups of colorful chocolate melting wafers according to package instructions until smooth and glossy—this will create a beautiful coating!
7. Dip and decorate: Carefully dip each cake pop into the melted chocolate, allowing any excess to drip off. Then, sprinkle with your favorite 1 cup of sprinkles for that festive touch!
8. Set the pops: Finally, place the coated cake pops upright in a styrofoam block or a cake pop stand to set completely. Watch as they transform into delightful summer treats!
Optional: Drizzle extra melted chocolate over decorated pops for added flair.
Exact quantities are listed in the recipe card below.
Tips for the Best Summer Homemade Cake Pops
- Choose Your Flavor: Use any cake mix you love; chocolate, lemon, or red velvet can add a fun twist to your summer homemade cake pops.
- Cool Completely: Make sure the baked cake cools fully before crumbling; otherwise, it may become too moist and hard to shape.
- Perfect Size: Aim for uniform balls about 1 inch in diameter; this ensures even coating and stability when inserted with sticks.
- Chill Before Coating: Freezing the formed balls for 15 minutes helps them hold their shape during the dipping process—don’t skip this step!
- Melt Carefully: Heat chocolate wafers in short bursts and stir frequently to prevent burning; smooth chocolate is key for a beautiful finish.
- Decorate Quickly: Add sprinkles right after dipping while the chocolate is still wet; this helps them adhere better and look festive!
How to Store and Freeze Summer Homemade Cake Pops

Room Temperature: Keep your Summer Homemade Cake Pops in an airtight container for up to 2 days to maintain freshness.
Fridge: Store cake pops in the refrigerator for up to 1 week, ensuring they are wrapped individually or placed in a sealed container to prevent drying.
Freezer: For longer storage, freeze cake pops in an airtight container or freezer bag for up to 3 months. Thaw in the fridge before serving.
Reheating: If desired, let cake pops sit at room temperature for about 30 minutes before enjoying them again. Avoid microwaving as it may ruin the chocolate coating.
Summer Homemade Cake Pops Variations
Ready to bring your own twist to these delightful treats? Let your creativity shine while you whip up something scrumptious!
- Dairy-Free: Substitute the eggs with flaxseed meal and use almond or coconut milk for a creamy base. These cake pops will still be just as moist and delicious, ensuring everyone can enjoy them guilt-free.
- Chocolate Lovers: Swap vanilla cake mix for chocolate cake mix to amplify the rich, decadent flavor. This variation will create a delightful explosion of chocolate in every bite, perfect for satisfying those sweet cravings.
- Fruit-Infused: Incorporate 1 cup of mashed ripe bananas or applesauce into the batter for a fruity twist. This addition not only enhances the flavor but also adds natural sweetness and moisture, making every pop pop with freshness.
- Nutty Crunch: Mix in 1/2 cup of chopped nuts like walnuts or pecans for added texture. The nutty crunch beautifully complements the soft cake, creating a delightful contrast in each bite.
- Spiced Delight: Add 1 teaspoon of cinnamon or pumpkin spice to the cake mix for a warm, cozy flavor. It’s an unexpected yet delightful twist that’ll remind you of fall gatherings, even in summer!
- Zesty Citrus: Incorporate the zest of one lemon or orange into the batter for a refreshing citrus burst. This brightens up your cake pops and adds a lovely aroma that will make your kitchen smell heavenly.
- Gluten-Free: Use a gluten-free cake mix instead of regular flour-based mixes. Enjoy all the flavors without worry, as these pops will taste just as good without compromising on texture.
- Heat It Up: Add 1 teaspoon of cayenne pepper or chili powder to the batter for a spicy kick. This bold variation surprises and delights with each sweet bite, perfect for adventurous palates!
Make Ahead Options
When it comes to summer gatherings, these Summer Homemade Cake Pops are a delightful treat that can be prepped in advance, saving you time and stress. Start by preparing the cake base: preheat your oven to 350°F (175°C) and mix together 1 box of vanilla cake mix, 3 large eggs, 1 cup of water, and 1/2 cup of vegetable oil until smooth. Bake for about 25 minutes, then allow the cake to cool completely before crumbling it into a large bowl. Once crumbled, form small balls and insert cake pop sticks; freeze them for about 15 minutes for firmness. You can make the cake pops up to three days in advance — simply store the uncoated balls in an airtight container in the freezer. When you’re ready to serve, melt 2 cups of chocolate melting wafers and dip each frozen ball, decorating them with sprinkles right after coating. This prep-ahead approach ensures your Summer Homemade Cake Pops remain fresh and festive for all your summer celebrations!
Summer Homemade Cake Pops Recipe FAQs
What type of cake mix can I use for my cake pops?
You can use any flavor of cake mix that tickles your taste buds! Vanilla is a classic choice, but chocolate, red velvet, or even lemon can make delightful cake pops. Just ensure it’s moist enough to hold the pops together after crumbling.
How long can I store leftover cake pops?
Once your delicious summer homemade cake pops are fully set, you can store them in an airtight container at room temperature for up to 3 days. If you want them to last longer, refrigerate them for about a week. Just make sure they’re well-wrapped to maintain their freshness!
Can I freeze the cake pops for later enjoyment?
Absolutely! After coating and decorating your cake pops, place them on a baking sheet and freeze until solid (about 1-2 hours). Once they’re firm, transfer them to an airtight container or freezer bag. They can be frozen for up to 3 months—perfect for prepping ahead for summer gatherings!
What should I do if my chocolate coating is too thick?
If your chocolate melts seem too thick when dipping, try adding a teaspoon of vegetable oil or shortening to the melted chocolate. This will help thin it out and give you a smoother coating. Make sure to stir well until fully combined before dipping your cake pops.
How do I achieve the perfect size for my cake balls?
Aim for about 1 inch in diameter when forming your cake balls. Using a small cookie scoop can help with consistency, ensuring each pop is uniform in size. This not only makes them look great but also helps with even coating and serving sizes!
Can I customize the sprinkles on my cake pops?
Definitely! Feel free to get creative with your decorations. You can use themed sprinkles for holidays or events, colored sugar, or even edible glitter to make your summer homemade cake pops extra festive and fun! The sky’s the limit when it comes to personalizing these treats!
Summer Homemade Cake Pops
Ingredients
Method
- Preheat the oven to 350°F (175°C). In a mixing bowl, combine the cake mix, eggs, water, and vegetable oil. Mix until smooth.
- Pour the batter into a greased baking sheet and bake for 25 minutes or until a toothpick comes out clean.
- Allow the cake to cool completely before crumbling it into a large bowl.
- Once the cake is crumbled, use your hands to form small balls (about 1 inch in diameter) and place them on a baking sheet.
- Insert a cake pop stick into each ball and freeze for about 15 minutes to help them firm up.
- Melt the chocolate wafers in the microwave according to package instructions until smooth.
- Dip each cake pop into the melted chocolate, allowing excess to drip off, then sprinkle with decorations.
- Place the coated cake pops upright in a styrofoam block or a cake pop stand to set.