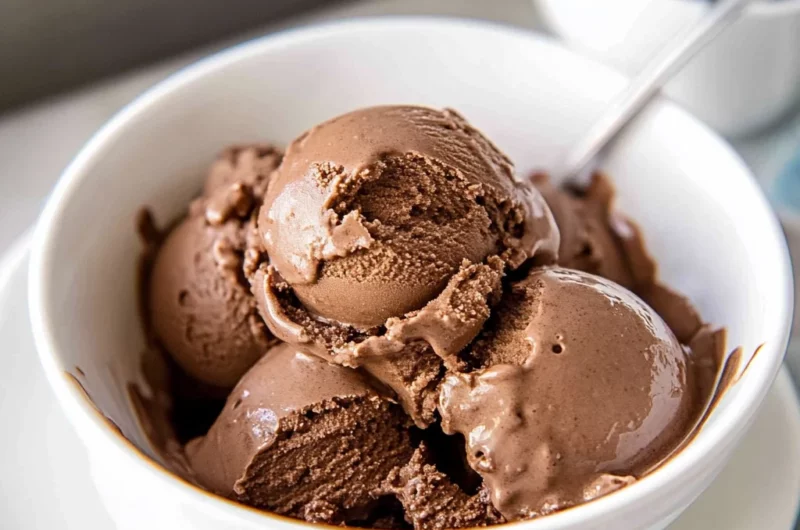
Imagine a scoop of Old-Fashioned Homemade Chocolate Ice Cream melting in your mouth, its velvety richness wrapping around your taste buds like a warm hug on a summer day. The aroma of cocoa swirls through the air, inviting you to indulge in this timeless treat that evokes childhood memories of hot afternoons spent chasing the ice cream truck down the street.
As the first spoonful transports you back to simpler times, you can almost hear the laughter of friends gathered around a backyard barbecue, eagerly awaiting their turn for a creamy delight. This classic dessert is perfect for any occasion, whether it’s a family gathering or a quiet evening on your porch, promising an unforgettable flavor experience that will leave you craving just one more scoop.
Why Is Old-Fashioned Homemade Chocolate Ice Cream So Irresistibly Good?
Rich and creamy texture comes from the perfect blend of heavy cream and whole milk, ensuring every scoop melts in your mouth. Decadent chocolate flavor is delivered through sifted unsweetened cocoa powder, making it a chocolate lover’s dream! Simple ingredients like granulated sugar and vanilla extract elevate this classic treat, while a hint of salt balances the sweetness beautifully. Plus, with just 15 minutes of prep time, you can whip up this delightful dessert effortlessly, impressing family and friends alike!
Old-Fashioned Homemade Chocolate Ice Cream Ingredients
- For the Cream Base
- 2 cups Heavy Cream – This adds a rich, velvety texture to your ice cream.
- 1 cup Whole Milk – Enhances creaminess while balancing the richness of the heavy cream.
- For the Sweetness
- 3/4 cup Granulated Sugar – Sweetens the mixture and helps achieve that classic dessert flavor.
- For the Chocolate Flavor
- 1 cup Unsweetened Cocoa Powder (Sifted) – Provides deep chocolatey goodness, essential for Old-Fashioned Homemade Chocolate Ice Cream.
- For the Flavor Boost
- 1 teaspoon Vanilla Extract – Adds warmth and complexity to the chocolate flavor profile.
- For the Balance
- 1/2 teaspoon Salt – Enhances sweetness and rounds out all the flavors beautifully.
- For the Custard Base
- 4 large Egg Yolks – Creates a creamy custard base that gives your ice cream its luscious consistency.
How to Make Old-Fashioned Homemade Chocolate Ice Cream
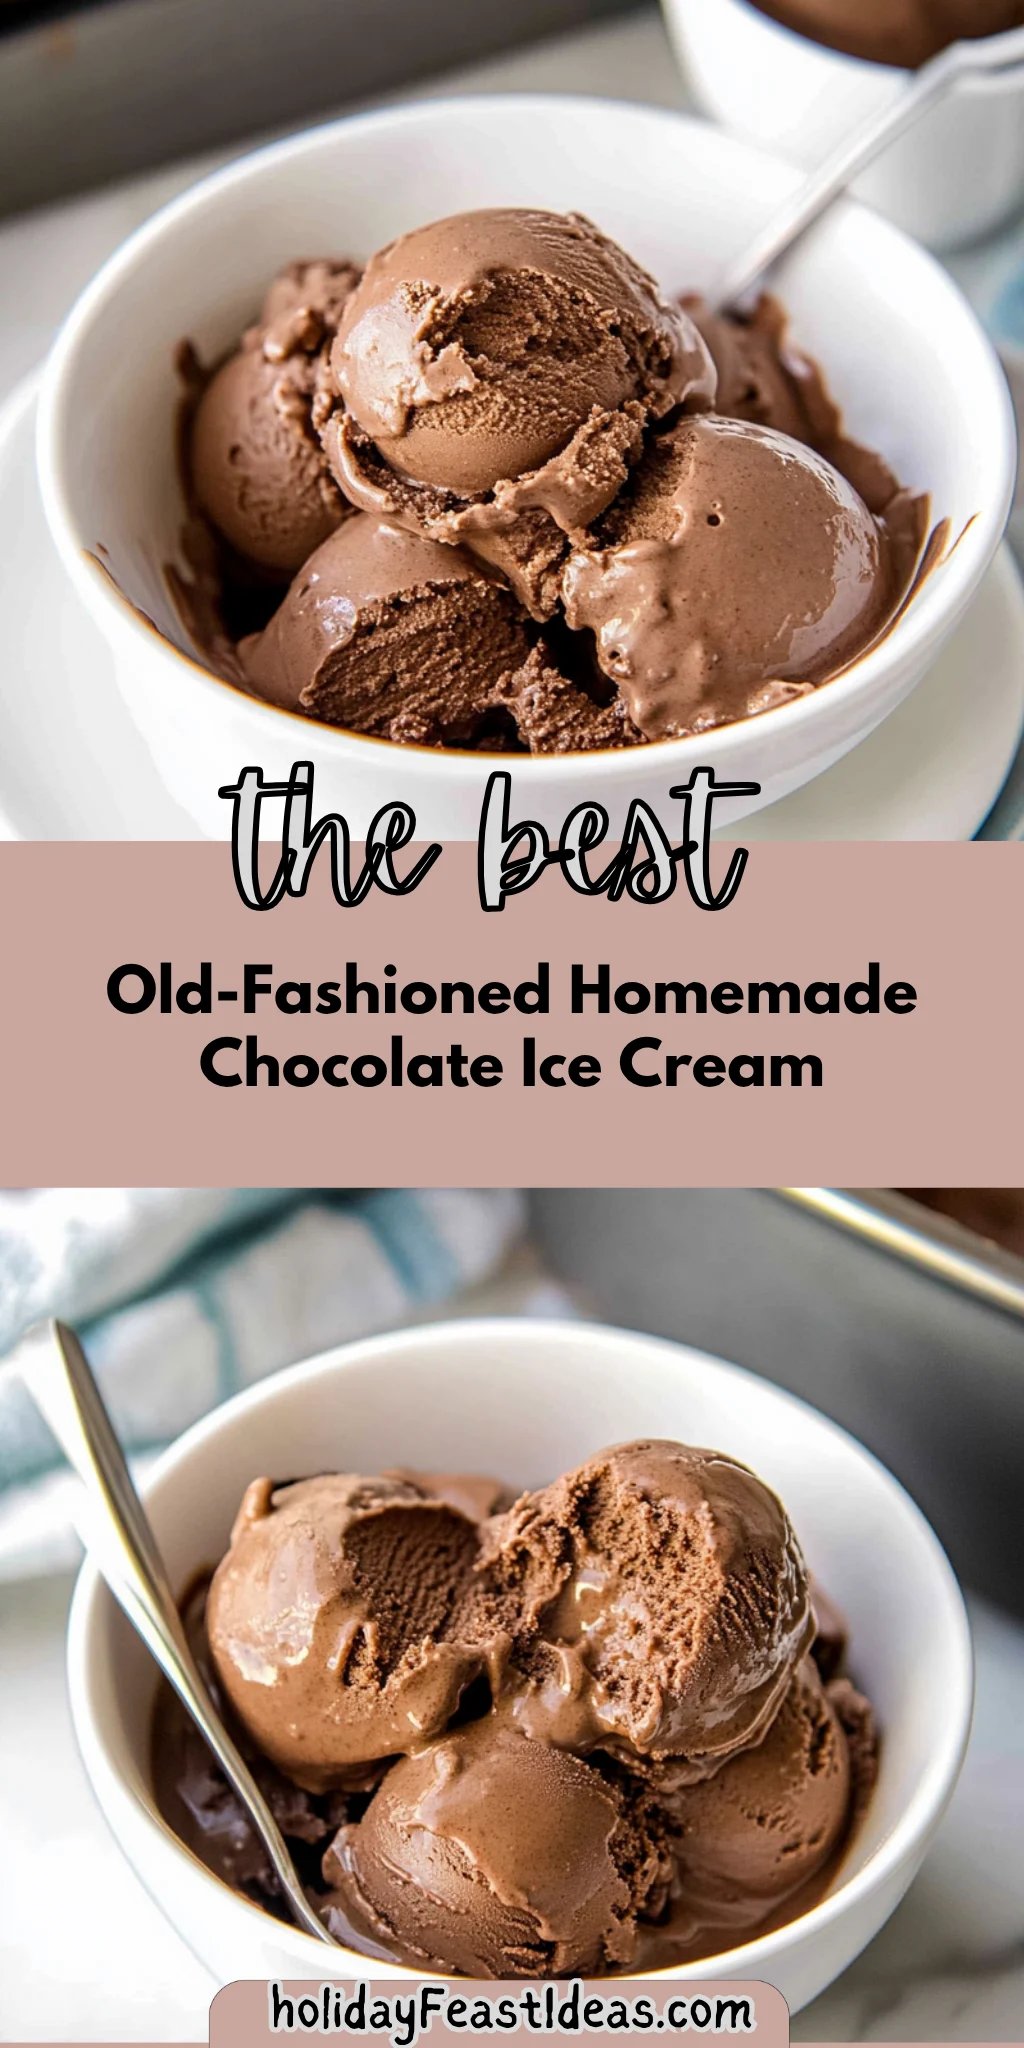
1. Combine Ingredients: In a saucepan, combine 2 cups of Heavy Cream, 1 cup of Whole Milk, and half of the 3/4 cup Granulated Sugar. Heat over medium heat until the mixture is warm but not boiling—about 5 minutes.
2. Whisk Egg Yolks: In a separate bowl, whisk together 4 large Egg Yolks with the remaining sugar until pale and thick. This should take about 2-3 minutes and create a lovely creamy texture.
3. Temper the Eggs: Gradually pour the warm cream mixture into the egg yolks while whisking constantly. This step is crucial for preventing scrambled eggs; take your time!
4. Cook Mixture: Return the mixture to the saucepan and cook over low heat, stirring constantly until it thickens enough to coat the back of a spoon—around 10-15 minutes. You’ll notice a custard-like consistency.
5. Add Cocoa Powder: Remove from heat and stir in 1 cup of Unsweetened Cocoa Powder (sifted), 1 teaspoon Vanilla Extract, and 1/2 teaspoon Salt until smooth and well combined.
6. Cool Down: Let the chocolate mixture cool to room temperature, then refrigerate until completely chilled—about 2 hours. Patience is key for that creamy finish!
Churn the Ice Cream:
7. Churn Base: Once the base is chilled, pour it into an ice cream maker and churn according to the manufacturer’s instructions until it reaches a soft-serve consistency—typically around 20-25 minutes.
8. Freeze Firm: Transfer the ice cream to an airtight container and freeze for at least 2 hours to firm up. This helps achieve that perfect scoopable texture you crave!
Optional: Serve with chocolate shavings or fresh berries for an extra touch!
Exact quantities are listed in the recipe card below.
Expert Tips
- Chill Your Ingredients: Make sure your heavy cream and whole milk are well chilled before mixing; this helps the ice cream set smoother.
- Don’t Rush Tempering: Gradually add the warm cream to the egg yolks while whisking; rushing can scramble the eggs, ruining your Old-Fashioned Homemade Chocolate Ice Cream.
- Watch the Heat: When cooking the mixture, keep the heat low and stir constantly to prevent curdling; it should thicken gently without boiling.
- Sift Cocoa Powder: Always sift your cocoa powder before adding it to avoid lumps, ensuring a silky texture in your ice cream.
- Proper Freezing Time: Allow at least 2 hours of freezing after churning for optimal firmness; skipping this step may lead to overly soft ice cream.
How to Store and Freeze Old-Fashioned Homemade Chocolate Ice Cream
- Fridge: Keep any leftover Old-Fashioned Homemade Chocolate Ice Cream in an airtight container for up to 3 days. This helps maintain its creamy texture.
- Freezer: For long-term storage, freeze the ice cream in a well-sealed container. It can last up to 2 months without losing flavor or texture.
- Thawing: When you’re ready to enjoy it again, thaw the ice cream in the fridge for about 30 minutes before serving for the best consistency.
- Avoid Freezer Burn: To prevent freezer burn, place a piece of plastic wrap directly on the surface of the ice cream before sealing your container.
Old-Fashioned Homemade Chocolate Ice Cream Your Way
Feel free to unleash your creativity and customize this classic dessert with delightful twists!
- Dairy-Free: Substitute the heavy cream and whole milk with coconut milk for a rich, creamy texture without dairy. This variation will still offer that lush mouthfeel while infusing a hint of tropical flavor.
- Sugar-Free: Use a sugar substitute like erythritol or stevia in place of granulated sugar for a guilt-free treat. This swap allows you to enjoy the same indulgent taste without the added calories, making it perfect for those watching their sugar intake.
- Mint Chocolate: Add 1 teaspoon of peppermint extract for a refreshing minty version. The coolness of mint paired with chocolate creates a delightful contrast that’s sure to impress!
- Spicy Kick: Mix in 1/2 teaspoon of cayenne pepper or chili powder for a surprising heat. This twist introduces an exciting dimension to the familiar chocolate flavor, perfect for adventurous palates.
- Nutty Delight: Fold in 1/2 cup of toasted chopped hazelnuts or almonds before churning. The nuts add both texture and flavor, offering a delightful crunch that complements the creaminess beautifully.
- Coffee Infusion: Incorporate 1 tablespoon of instant coffee granules into the mix for a mocha-inspired treat. The addition of coffee enhances the chocolate depth, making each scoop even more irresistible.
- Fruit Fusion: Swirl in pureed raspberries or strawberries before freezing to introduce fruity freshness. This variation balances the richness of chocolate with vibrant berry notes, creating a symphony of flavors in every bite.
- Cookie Crumble: Stir in crushed chocolate sandwich cookies for added texture and flavor. The pieces will create delightful bits throughout your ice cream, adding surprise and familiarity in every scoop!
Make Ahead Options

Making Old-Fashioned Homemade Chocolate Ice Cream is perfect for meal prep, allowing you to indulge in this classic dessert whenever the craving strikes. You can prepare the base ingredients—2 cups of heavy cream, 1 cup of whole milk, 3/4 cup of granulated sugar, and 1 cup of sifted unsweetened cocoa powder—up to 24 hours in advance. Start by combining the heavy cream, whole milk, and half of the sugar in a saucepan and heating until warm. While that’s happening, whisk together the egg yolks with the remaining sugar until thick. Temper the eggs with the warm mixture, then return it all to the stove and cook until thickened. After removing from heat, stir in the cocoa powder, vanilla extract, and salt until smooth. Let this cool to room temperature before refrigerating for about 2 hours or overnight if needed. When you’re ready to enjoy your Old-Fashioned Homemade Chocolate Ice Cream, pour the chilled base into your ice cream maker and churn according to the manufacturer’s instructions. Transfer it to an airtight container and freeze for at least 2 hours before serving—this ensures you achieve that perfect creamy texture!
Old-Fashioned Homemade Chocolate Ice Cream Recipe FAQs
What kind of cocoa powder should I use for the best flavor?
Using high-quality unsweetened cocoa powder will give your chocolate ice cream a rich, deep flavor. Brands like Valrhona or Ghirardelli are fantastic choices and will elevate your homemade treat. Just make sure to sift it before adding, as this helps avoid lumps in your ice cream base.
How can I ensure my egg yolks are tempered properly?
To temper the egg yolks, it’s essential to gradually add the warm cream mixture while whisking constantly. This process gently brings up the temperature of the yolks without scrambling them. You’ll know it’s done when the mixture is pale and thick, which typically takes about 30 seconds of whisking. Aim for a smooth, silky texture!
What’s the best way to store leftover chocolate ice cream?
Store any leftover ice cream in an airtight container to prevent freezer burn and maintain its creamy texture. Be sure to press a piece of parchment paper directly onto the surface of the ice cream before sealing; this helps keep it from developing ice crystals. It should stay fresh for about 2-3 weeks in the freezer, but trust me, it won’t last that long!
Can I substitute any ingredients for dietary restrictions?
Absolutely! If you’re looking to lighten things up, you can replace heavy cream with coconut cream for a dairy-free option. For a lower sugar alternative, consider using a sugar substitute that measures cup-for-cup, but remember that it may slightly affect the texture. If you’re vegan, try swapping eggs with a cornstarch slurry (1 tablespoon cornstarch mixed with 2 tablespoons water) for a similar thickening effect.
How long does it take to churn and freeze the ice cream?
Churning typically takes about 20-25 minutes until you achieve a soft-serve consistency. After churning, transfer your ice cream into an airtight container and freeze it for at least 2 hours to firm up completely before serving. The patience will pay off when you scoop into that creamy goodness!
What’s the recommended serving size for this recipe?
This recipe yields about 4 servings, with each serving containing approximately 320 calories. For portion control and perfect servings every time, consider using an ice cream scoop or measuring cup—about half a cup per serving is just right to satisfy your sweet tooth without overindulging!
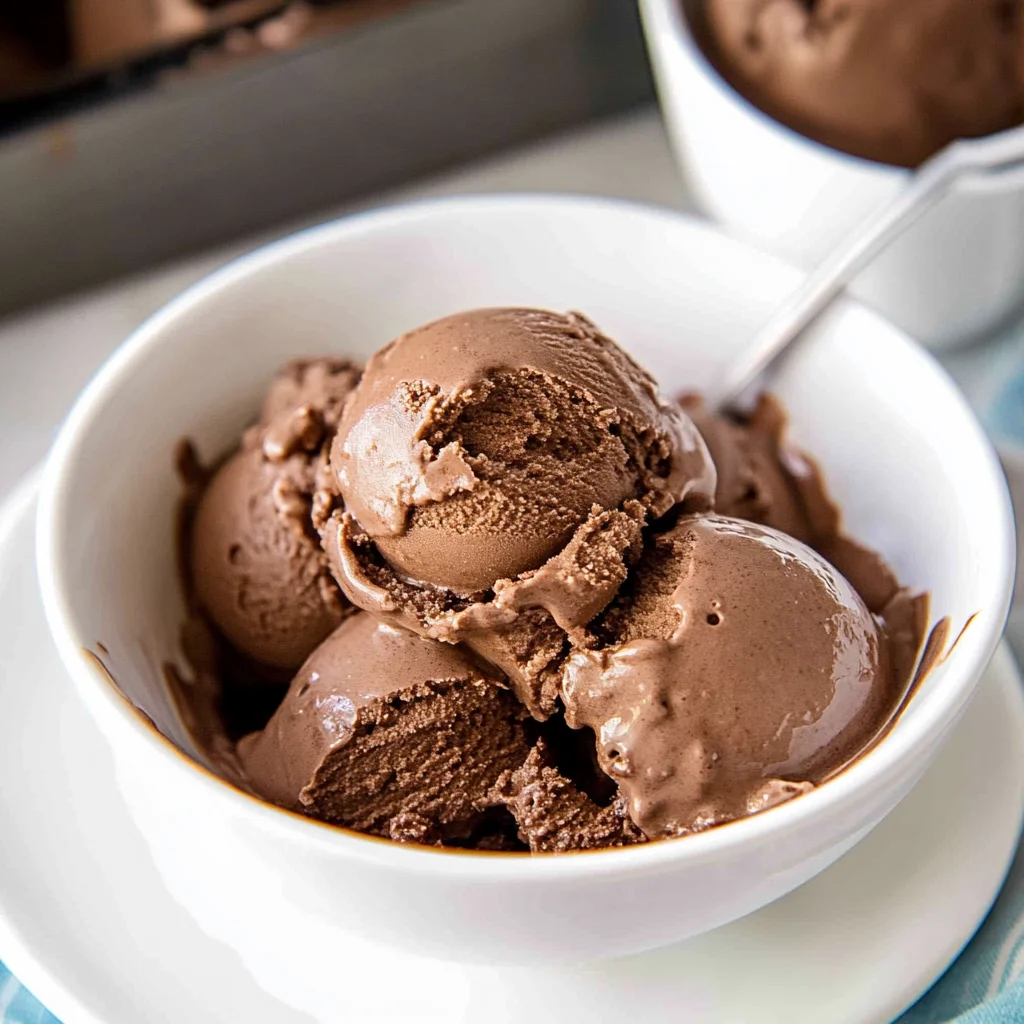
Old-Fashioned Homemade Chocolate Ice Cream
Ingredients
Method
- In a saucepan, combine the heavy cream, whole milk, and half of the sugar. Heat over medium heat until the mixture is warm but not boiling.
- In a separate bowl, whisk the egg yolks with the remaining sugar until pale and thick.
- Gradually pour the warm cream mixture into the egg yolks, whisking constantly to temper the eggs.
- Return the mixture to the saucepan and cook over low heat, stirring constantly until it thickens enough to coat the back of a spoon.
- Remove from heat and stir in the cocoa powder, vanilla extract, and salt until smooth.
- Let the mixture cool to room temperature, then refrigerate until completely chilled, about 2 hours.
- Once the base is chilled, pour it into an ice cream maker and churn according to the manufacturer's instructions until it reaches a soft-serve consistency.
- Transfer the ice cream to an airtight container and freeze for at least 2 hours to firm up.