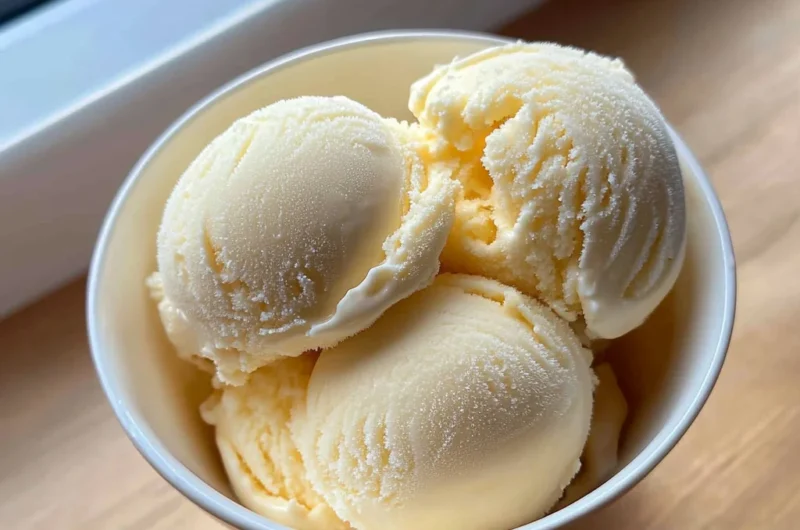
Imagine the first scoop of homemade vanilla ice cream, where each creamy bite melts effortlessly on your tongue, releasing a symphony of rich vanilla notes that dance with delight. The smooth texture glides like silk, leaving behind a sweet aroma that beckons you back for more, making it the perfect treat to cool off during summer barbecues or cozy evenings at home.
As I churned my first batch of homemade vanilla ice cream in my grandmother’s kitchen, laughter filled the air, creating memories as sweet as the dessert itself. This nostalgic delight brings people together and transforms ordinary moments into extraordinary ones, promising an unforgettable flavor experience that will have everyone asking for seconds.
Why Is Homemade Vanilla Ice Cream So Irresistibly Good?
Richness from 2 cups of heavy cream creates a luxurious, velvety texture that melts in your mouth. Creamy whole milk adds depth, making every scoop a delightful experience. Sweetness is perfectly balanced with 3/4 cup of granulated sugar, enhancing the flavor without overpowering it. Pure vanilla extract infuses each bite with aromatic bliss, while just a pinch of salt elevates the overall taste. With only 15 minutes of prep, this easy-to-make treat is sure to impress your family and friends!
Ingredients for Homemade Vanilla Ice Cream
- 2 cups heavy cream – This creamy base provides the rich texture that makes your ice cream irresistibly smooth.
- 1 cup whole milk – Whole milk adds a delightful creaminess while balancing the richness of the heavy cream.
- 3/4 cup granulated sugar – Sweetens the mixture perfectly, enhancing the natural vanilla flavor in your Homemade Vanilla Ice Cream.
- 1 tablespoon pure vanilla extract – Use high-quality vanilla extract for the best aromatic and flavorful results in your ice cream.
- 1/2 teaspoon salt – A pinch of salt rounds out the sweetness and elevates all the flavors in this delicious treat.
Step-by-Step Homemade Vanilla Ice Cream
1. Whisk together the heavy cream, whole milk, granulated sugar, pure vanilla extract, and salt in a mixing bowl until the sugar is fully dissolved. This creamy blend is the foundation of your delightful ice cream.
2. Cover and chill the mixture in the refrigerator for at least 2 hours, or overnight if you can wait! The longer it chills, the better the flavors meld together for your Homemade Vanilla Ice Cream.
3. Pour into the ice cream maker and churn according to the manufacturer’s instructions until it reaches a soft-serve consistency. You’ll know it’s ready when it thickens beautifully—about 20 to 30 minutes!
4. Transfer to a container: Move your churned ice cream into an airtight container and freeze for at least 2 hours to firm up completely. This step ensures every scoop is perfectly creamy and delicious.
Optional: Enjoy with fresh fruit or chocolate sprinkles!
Exact quantities are listed in the recipe card below.
Tips for the Best Homemade Vanilla Ice Cream
- Chill Ingredients First: Ensure your heavy cream and whole milk are well-chilled. Cold ingredients help achieve a smoother texture in your homemade vanilla ice cream.
- Dissolve Sugar Completely: Whisk the sugar into the cream mixture until fully dissolved to prevent graininess in the final product. This step is crucial for a creamy finish.
- Avoid Over-Churning: Keep an eye on the consistency while churning; over-churning can lead to icy textures. Stop when it’s still soft-serve-like for the best results.
- Use Quality Vanilla: Opt for pure vanilla extract instead of imitation. The rich flavor of pure vanilla will elevate your homemade vanilla ice cream significantly.
- Freeze Properly: After churning, transfer the ice cream to an airtight container and freeze it for at least two hours. This helps firm it up perfectly without becoming too hard.
How to Store and Freeze Homemade Vanilla Ice Cream
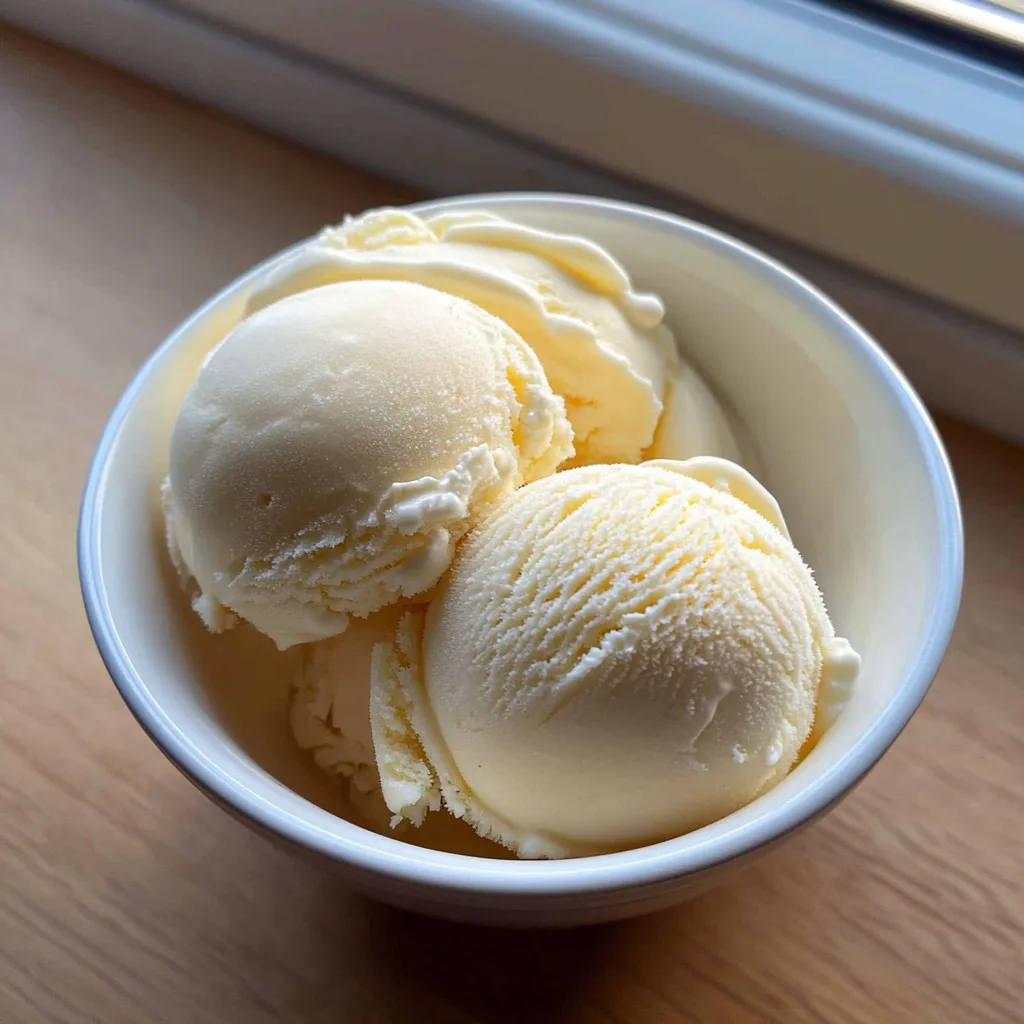
- Freezer: Store your Homemade Vanilla Ice Cream in an airtight container for up to 2 weeks. This helps prevent freezer burn and keeps it creamy.
- Fridge: If you need to soften your ice cream, place it in the fridge for about 20 minutes. Avoid keeping it here longer, as it can lose its texture.
- Wrapping: For extra protection, cover the surface of the ice cream with plastic wrap before sealing the container. This keeps air out and maintains freshness.
- Serving: When serving, let the ice cream sit at room temperature for 5–10 minutes to soften slightly for easier scooping. Enjoy every creamy bite!
Homemade Vanilla Ice Cream Your Way
Feel free to let your creativity shine as you customize this delightful treat to suit your taste buds!
- Dairy-Free: Substitute the heavy cream and whole milk with coconut milk for a tropical twist. This version is creamy yet has a hint of coconut flavor, perfect for summer days.
- Nutty Delight: Add 1/2 cup of chopped roasted almonds or pistachios for a crunchy texture. The nutty bits will bring a satisfying crunch that contrasts beautifully with the smooth ice cream.
- Chocolate Swirl: Fold in 1/2 cup of melted dark chocolate just before freezing. This decadent addition creates rich swirls of chocolatey goodness throughout your ice cream.
- Fruit Infusion: Blend in 1 cup of fresh strawberries or raspberries for a fruity flavor explosion. The vibrant colors and fresh fruit pieces make this variation visually stunning and oh-so-delicious.
- Spiced Twist: Incorporate 1 teaspoon of cinnamon or nutmeg into the mixture for a warm, cozy taste. This subtle spice will elevate your homemade ice cream, giving it an inviting aroma and comforting flavor.
- Minty Fresh: Replace vanilla extract with peppermint extract for a refreshing mint ice cream. This variation is perfect for those hot summer nights, bringing a cool sensation to every scoop.
- Caramel Drizzle: Swirl in 1/2 cup of caramel sauce before freezing to add layers of sweetness. The gooey caramel ribbons will create an irresistible contrast with the creamy vanilla base.
Make Ahead Options
Preparing this Homemade Vanilla Ice Cream is a breeze, making it an excellent choice for meal prep. You can easily combine the base ingredients—2 cups of heavy cream, 1 cup of whole milk, 3/4 cup of granulated sugar, 1 tablespoon of pure vanilla extract, and 1/2 teaspoon of salt—up to 24 hours in advance. Simply whisk them together until the sugar dissolves, cover the mixture, and refrigerate it for at least 2 hours or overnight for optimal flavor development. When you’re ready to indulge, pour the chilled mixture into your ice cream maker and churn according to the manufacturer’s instructions until you achieve that delightful soft-serve consistency. Finally, transfer your churned Homemade Vanilla Ice Cream to an airtight container and freeze for at least 2 hours to firm up before serving. These make-ahead options not only save you time but also ensure that every scoop is as delicious as possible!
Homemade Vanilla Ice Cream Recipe FAQs
What type of heavy cream should I use for homemade vanilla ice cream?
Using a high-quality heavy cream is essential for the best flavor and texture. Look for heavy cream with at least 36% fat content; this will contribute to that rich, creamy mouthfeel we all love in ice cream.
Can I substitute whole milk with a non-dairy alternative?
Absolutely! If you want a non-dairy option, almond milk or coconut milk can be great substitutes. Just keep in mind that the texture might vary slightly, and you may need to adjust the sugar based on the sweetness of your alternative milk.
How long should I refrigerate the ice cream base before churning?
For optimal results, refrigerate the mixture for at least 2 hours, but letting it sit overnight is even better. This allows the flavors to meld beautifully and helps achieve that creamy consistency when churning.
What’s the best way to store leftover homemade vanilla ice cream?
Store your homemade vanilla ice cream in an airtight container to prevent freezer burn. It should stay fresh for about 2 weeks but will likely be eaten much sooner—it’s hard to resist!
How can I troubleshoot if my ice cream doesn’t firm up after freezing?
If your ice cream isn’t firming up as expected, it might be due to not chilling the base long enough or insufficient churning time. Ensure your mixture is well-chilled before churning and follow your manufacturer’s instructions closely. If it’s still too soft, let it freeze longer until it reaches your desired consistency.
How many servings does this recipe yield, and how many calories per serving?
This delightful homemade vanilla ice cream recipe yields 4 servings, with each serving containing approximately 250 calories. It’s perfect for sharing with family and friends or enjoying a scoop (or two!) all by yourself!
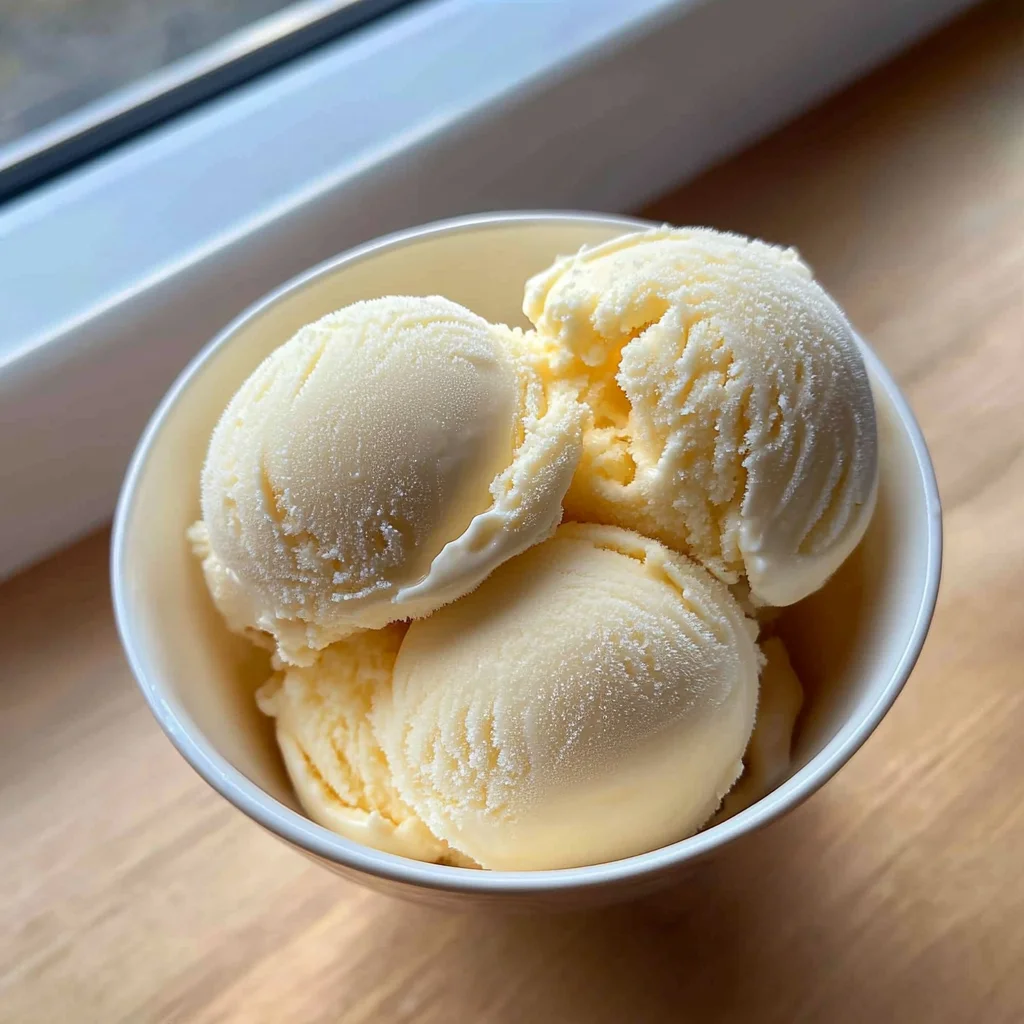
Homemade Vanilla Ice Cream
Ingredients
Method
- In a mixing bowl, whisk together the heavy cream, whole milk, sugar, vanilla extract, and salt until the sugar is dissolved.
- Cover the mixture and refrigerate for at least 2 hours, or overnight for best results.
- Pour the chilled mixture into the ice cream maker and churn according to the manufacturer's instructions until it reaches a soft-serve consistency.
- Transfer the churned ice cream to an airtight container and freeze for at least 2 hours to firm up.