Imagine biting into a chewy, vibrant strip of fruity goodness that bursts with the natural sweetness of sun-ripened berries and tropical delights. This fruit roll-up recipe transforms simple pureed fruit into an irresistibly flavorful snack that dances on your taste buds, offering a delightful escape from mundane treats.
As you peel back each layer, memories of carefree summer days spent outdoors come flooding back, where the only worry was whether to have another roll-up or save it for later. Perfect for lunchboxes or as a healthy snack during movie marathons, these homemade treasures promise not just nutrition but also a nostalgic adventure wrapped in every bite.
Why Is fruit roll up recipe So Irresistibly Good?
Wholesome ingredients like fresh strawberries, mangoes, or apples make this fruit roll-up recipe a guilt-free treat. Customizable sweetness from honey allows you to adjust based on your favorite fruits. Easy to make in just 15 minutes of prep and 3 hours of cooking time, it’s a perfect snack for busy families. Versatile enough for lunchboxes or on-the-go munching, these fruity delights will appeal to kids and adults alike!
fruit roll up recipe Ingredients
- 2 cups fresh fruit (such as strawberries, mangoes, or apples) – Choose your favorite ripe fruits for the best flavor and sweetness in your fruit roll up recipe.
- 1 tablespoon honey (optional, adjust based on fruit sweetness) – Add honey for extra sweetness if your fruit isn’t quite ripe or sweet enough.
- 1 tablespoon lemon juice (to enhance flavor) – Lemon juice brightens the taste of the fruit and prevents browning.
How to Make fruit roll up recipe
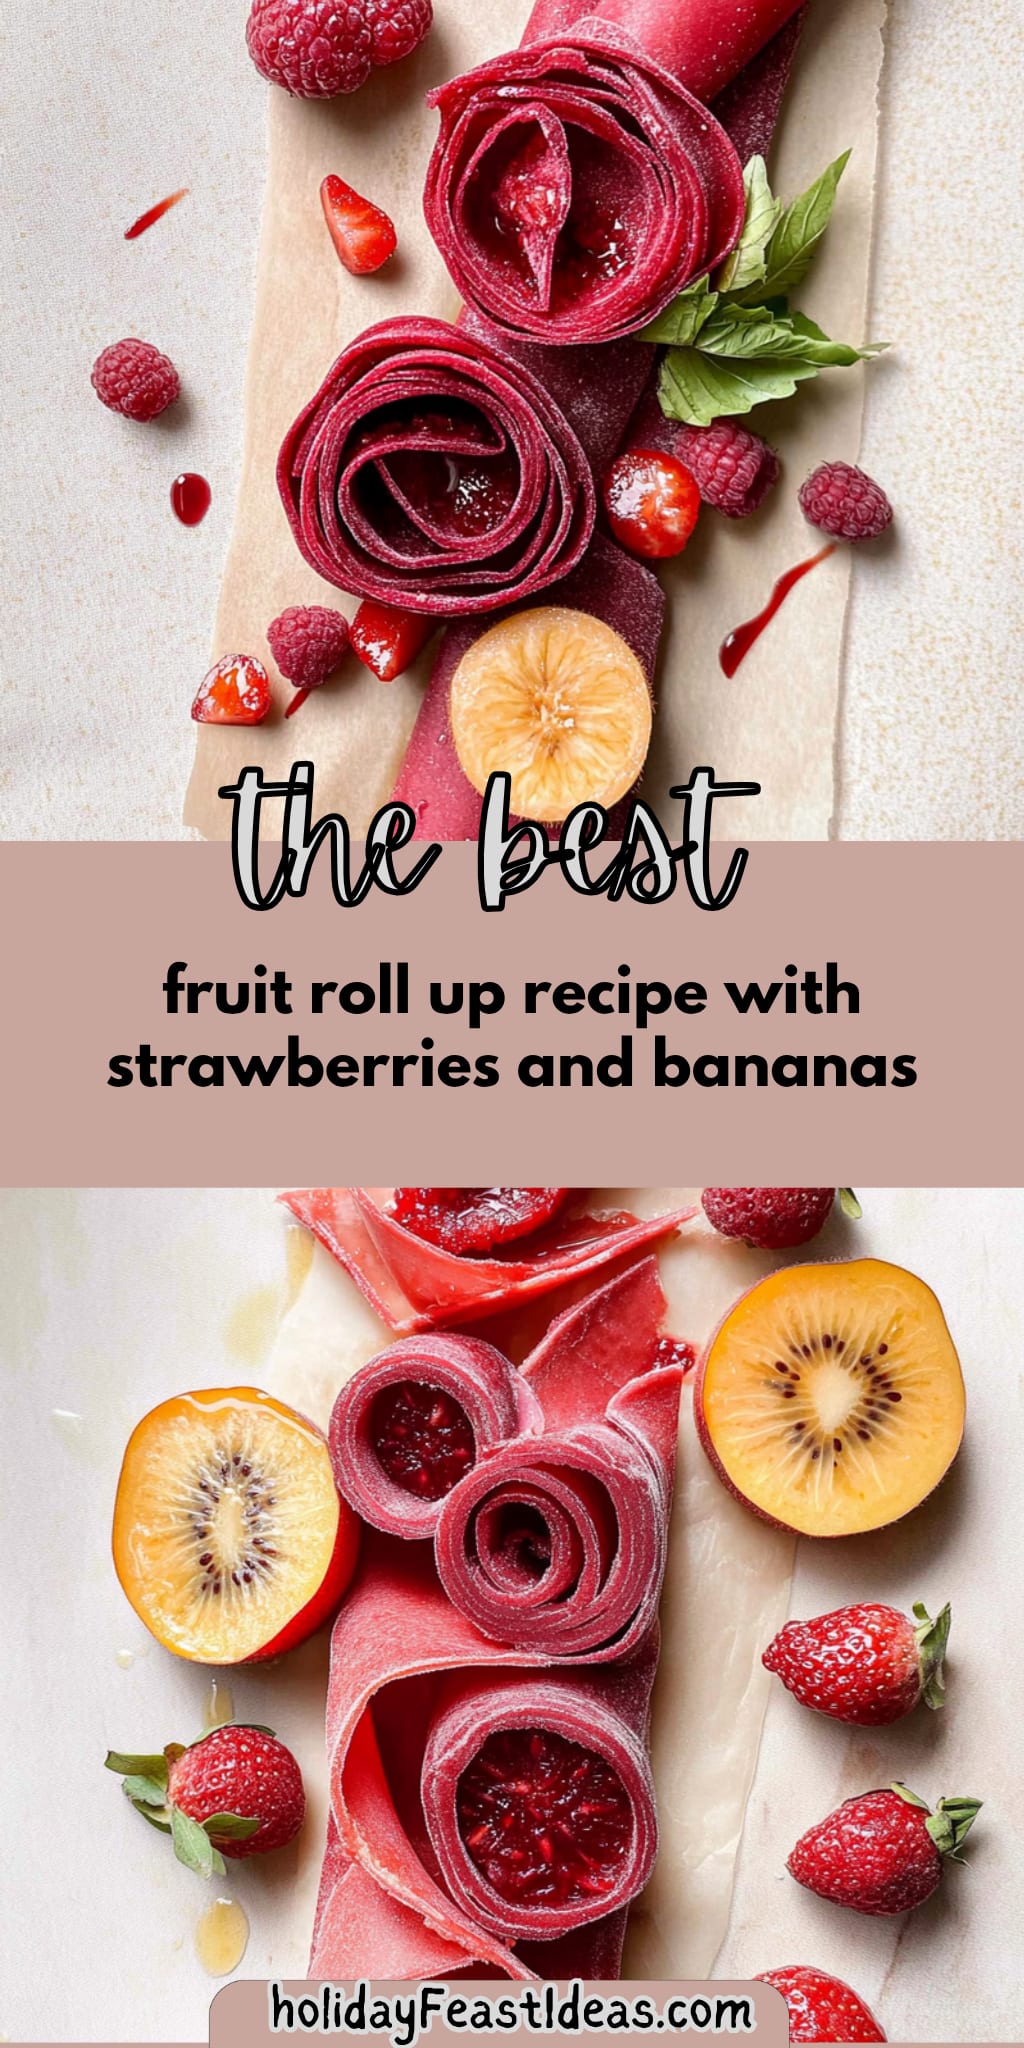
1. Preheat the oven to 170°F (75°C). Line a baking sheet with parchment paper. This low temperature ensures a slow drying process, yielding that perfect chewy texture we love in homemade fruit roll-ups.
2. Blend the fresh fruit, honey, and lemon juice together until smooth. You can use any combination of fruits, like strawberries, mangoes, or apples! The lemon juice enhances the flavor and keeps the colors vibrant.
3. Pour the fruit puree onto the prepared baking sheet and spread it evenly using a spatula. Aim for a thickness of about 1/8 inch; this helps it dry uniformly while baking for approximately 3 hours.
4. Bake in the preheated oven for about 3 hours, or until the surface is no longer sticky to touch. Keep an eye on it; it should look slightly shiny but firm when done!
5. Cool completely after removing from the oven before cutting into strips. This step is essential for achieving that perfect chewy consistency—patience pays off!
6. Roll the strips in parchment paper for storage once cooled. Store them in an airtight container, and they’ll be ready for snacking whenever you need a healthy treat!
Optional: Enjoy with a sprinkle of cinnamon for added flavor!
Exact quantities are listed in the recipe card below.
Pro Tips for fruit roll up recipe
- Fruit Selection: Choose ripe, in-season fruits like strawberries or mangoes for the best flavor and sweetness in your fruit roll up recipe.
- Sweetness Balance: Taste your fruit puree before baking; adjust honey based on the natural sweetness of the fruits you use to avoid overly sweet rolls.
- Even Spread: Ensure an even layer of fruit puree on the baking sheet; thick spots may remain sticky while thinner areas could dry out too quickly.
- Oven Timing: Keep an eye on your fruit roll-ups as they bake; ovens can vary, and you might need to adjust the time slightly for perfect results.
- Cooling Period: Let the rolled strips cool completely before cutting; this helps them firm up and makes them easier to handle without tearing.
How to Store and Freeze fruit roll up recipe
- Room Temperature: Enjoy your fruit roll ups within 1-2 days if kept in a cool, dry place, tightly wrapped to maintain freshness.
- Fridge: Store in an airtight container for up to 1 week. This helps retain the chewy texture and fruity flavor of your homemade fruit roll up recipe.
- Freezer: For longer storage, freeze individual pieces between layers of parchment paper. They can last up to 6 months; just thaw at room temperature before enjoying.
- Reheating: If you prefer them warm, simply pop them in a microwave for a few seconds. Enjoy the delightful aroma as they come back to life!
fruit roll up recipe Your Way
Feel free to let your creativity shine as you customize this delightful snack with your favorite fruits and flavors!
- Berry Blast: Use 2 cups of mixed berries like blueberries and raspberries for a vibrant, tangy twist. These juicy gems not only add a burst of color but also pack in antioxidants, making your fruit roll-ups even healthier.
- Tropical Paradise: Swap in 2 cups of diced mango and pineapple for a sweet, sunny flavor. This combination will transport you straight to the beach while offering a refreshing and juicy treat that’s perfect for warm days.
- Spicy Kick: Add a pinch of cayenne pepper to your apple roll-ups for an unexpected heat. Just a tiny bit can elevate the flavor profile and make your taste buds dance with excitement!
- Creamy Avocado: Blend in 1 ripe avocado with your fruit for extra creaminess and healthy fats. This twist provides a unique texture that pairs beautifully with sweeter fruits, creating a satisfying snack option.
- Nutty Delight: Incorporate 1 tablespoon of almond butter into your mix for added richness. This nutty flavor complements fruits like bananas or apples, giving you a deliciously decadent fruit roll-up experience.
- Citrus Zing: Experiment with different citrus juices like orange or lime instead of lemon juice. These variations can brighten up the overall flavor, offering a refreshing zing that awakens the palate.
- Herbal Infusion: Try adding fresh mint or basil leaves into the puree for an aromatic twist. The subtle herbal notes can elevate simple fruit combinations into something extraordinary and gourmet!
Make Ahead Options

Making this fruit roll up recipe is a fantastic way to streamline your snack game, especially for busy families. You can prep the fresh fruit by washing and chopping it up to 24 hours in advance, which saves precious time when you’re ready to blend. Additionally, you can combine the fruits, honey, and lemon juice in the blender ahead of time—just store the puree in an airtight container in the refrigerator for up to 3 days. When you’re ready to make your fruit roll-ups, simply pour the prepared mixture onto a baking sheet lined with parchment paper and pop it in the oven at 170°F (75°C) for about 3 hours. Once baked and cooled, cut into strips and roll them up for easy storage. This way, you’ll have delightful homemade snacks ready to go without any last-minute hassle!
fruit roll up recipe Questions Answered
What types of fruit can I use for my fruit roll-ups?
You can get creative with your fruit selection! Fresh fruits like strawberries, mangoes, and apples work beautifully, but feel free to mix and match. Just make sure to use about 2 cups total. Each fruit will bring a unique flavor and sweetness to your roll-ups!
Can I adjust the sweetness of my fruit roll-ups?
Absolutely! The tablespoon of honey is optional, so you can taste your fruit puree before adding it. If your fruits are particularly sweet, you might not need any honey at all. This way, you can customize the sweetness to fit your family’s preferences.
How should I store my homemade fruit roll-ups?
Once cooled and cut into strips, roll each strip in parchment paper for easy storage. Store them in an airtight container at room temperature for up to a week. For longer storage, consider placing them in the refrigerator where they can last up to two weeks.
Can I freeze my fruit roll-ups?
Yes! Freezing is a great option if you want to save some for later. Just wrap each rolled strip tightly in plastic wrap or parchment paper before placing them in a freezer-safe bag or container. They should maintain their quality for up to three months.
What can I do if my fruit roll-ups are too sticky after baking?
If your roll-ups remain sticky even after the full 3 hours of baking at 170°F (75°C), try putting them back in the oven for an additional 30 minutes. Make sure to check periodically until they reach that perfect non-sticky texture!
How many servings does this recipe yield?
This delicious fruit roll-up recipe yields four servings, with each serving containing approximately 80 calories. Perfect for sharing as snacks or packing into lunchboxes—your kids will love them!
Fruit Roll-Up
Ingredients
Method
- Preheat the oven to 170°F (75°C). Line a baking sheet with parchment paper.
- In a blender, combine the fresh fruit, honey, and lemon juice. Blend until smooth.
- Pour the fruit puree onto the prepared baking sheet and spread it evenly with a spatula.
- Bake in the preheated oven for about 3 hours, or until the fruit is no longer sticky to the touch.
- Remove from the oven and let it cool completely before cutting into strips.
- Roll the strips in parchment paper for storage.